
Applied guide
Selecting the right impact protection
The protection level follows the possible impact at the exposed point, not only the asset being protected.
Before the barrier, understand the impact
In many plants, the request starts with “we need protection”. The useful question is more concrete: what is being hit, by whom, how often, from which direction and what happens when the point fails.
A rack end, high-speed door, conveyor or pedestrian route does not follow the same logic. Sometimes a bollard is enough for a localised point. Sometimes the route needs guardrail, pedestrian separation or dedicated loading-bay, column or machine protection.
The inputs that change the choice
Speed and angle
Floor and anchoring
Protection follows the exposed zone
STOMMPY has different families for localised points, exposed lines, pedestrian separation and areas where flow must be guided without blocking work.
Racks, columns and aisle ends
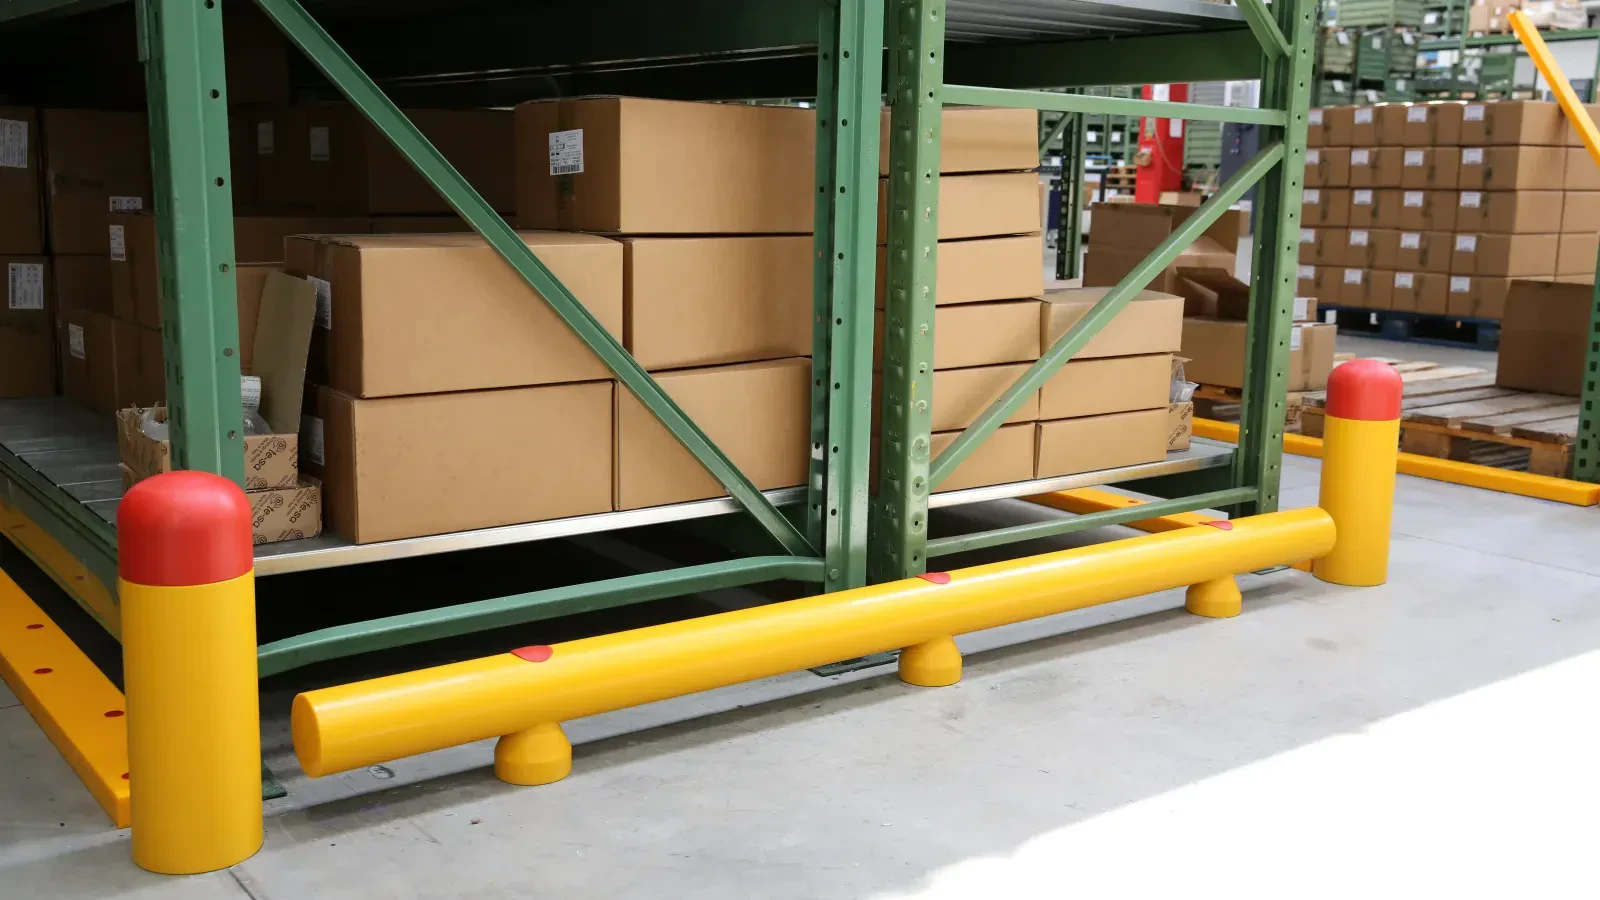
Racks are designed for static load, not repeated vehicle impact. At aisle ends, turning direction, speed, carried load and the consequence of stopping the area for inspection or repair all matter.
Good data reduces under-specification: instead of “rack protection”, the discussion becomes acceptable impact and the space the barrier may occupy.
Pedestrians and vehicles in the same flow
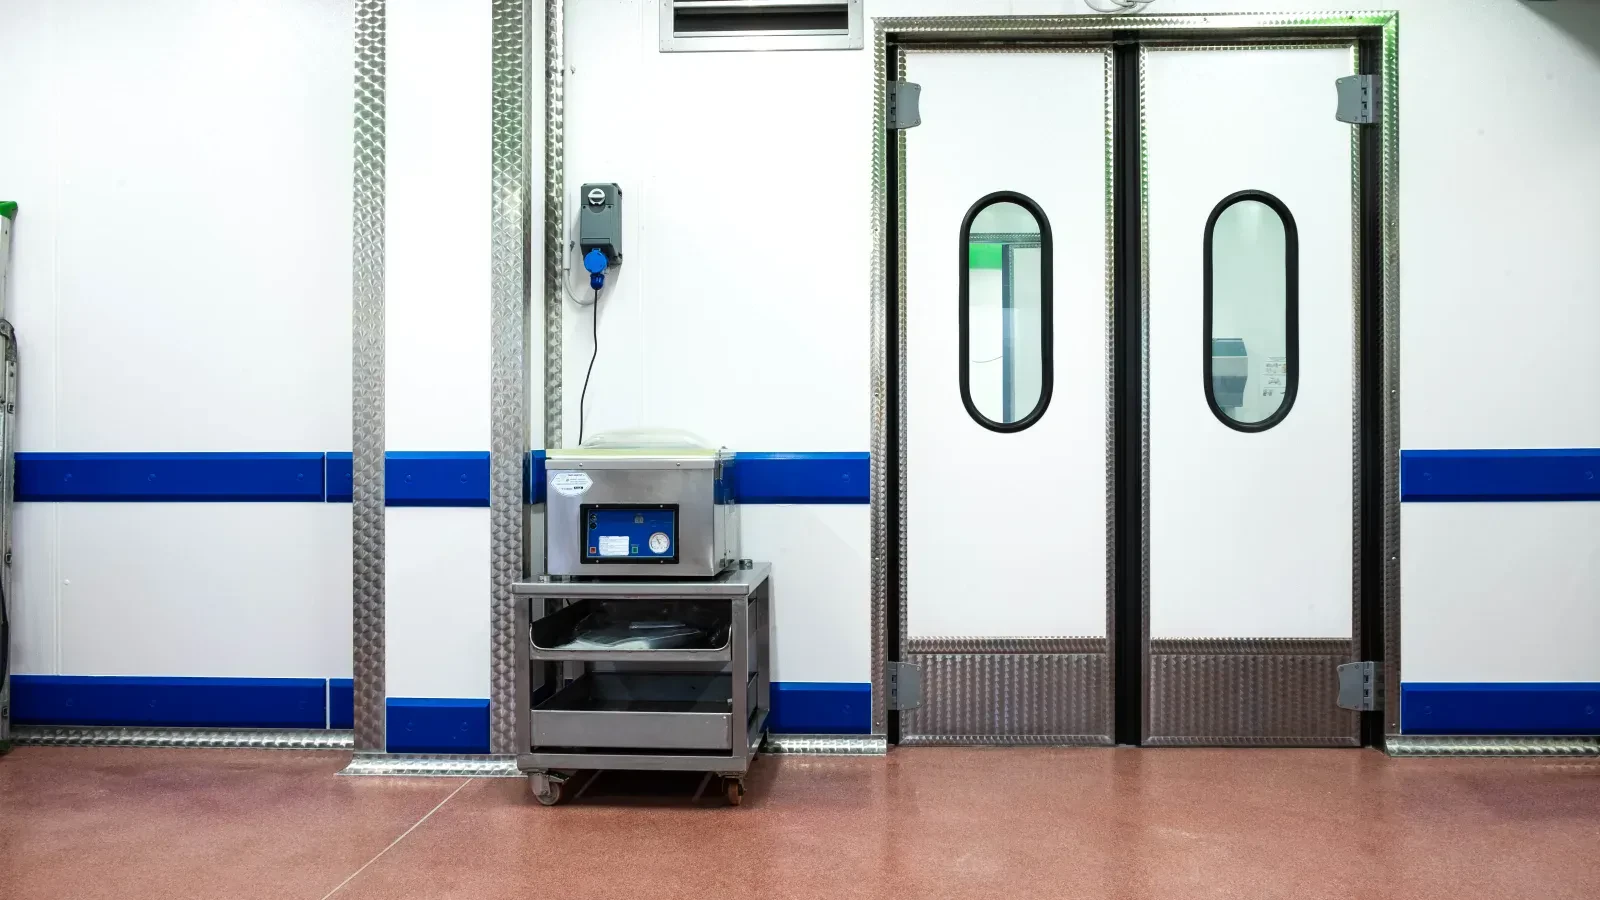
Where people and forklifts share the same area, protection must do more than resist. It should guide movement, allow controlled access, avoid unsafe bypasses and stay visible in daily operation.
Pedestrian separation is read together with intersections, doors, blind spots, crossings and places where operators enter or leave the flow.
Machines, conveyors, doors and bays
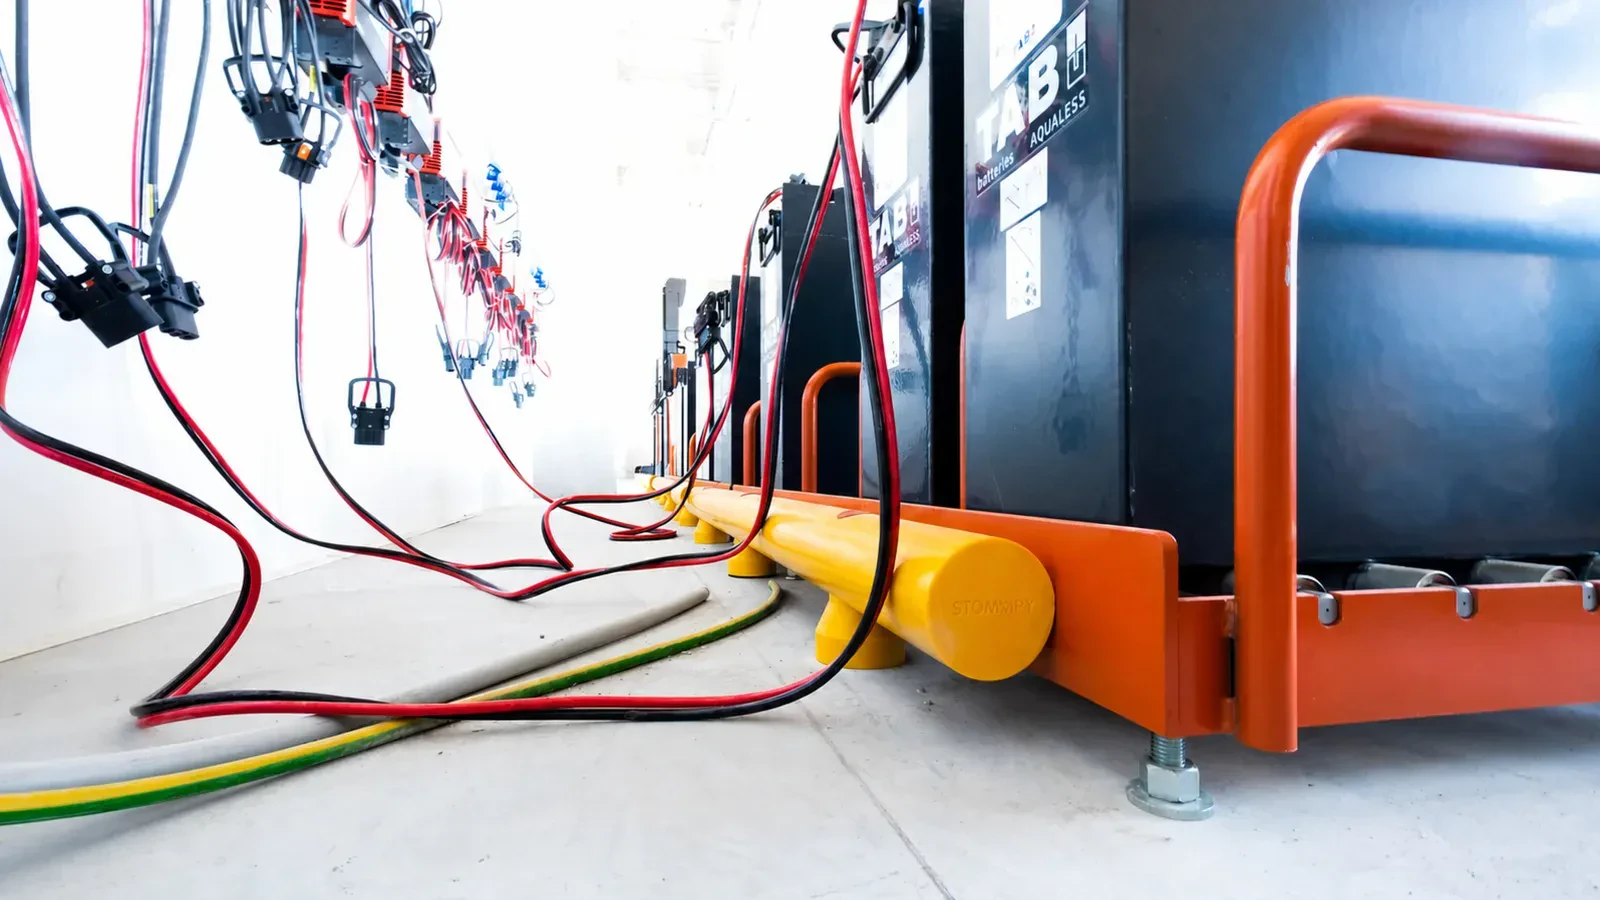
A damaged conveyor, high-speed door or loading bay is not only a repair cost. It can stop flow, trigger maintenance, force route changes or expose operators near the affected area.
Selection follows geometry: how much deformation space exists, how the vehicle approaches and where free movement must remain.
Why calculation comes before price
For impact protection, budget cannot be separated from the scenario. An under-specified barrier becomes repeated cost; an oversized one may consume space and budget without clear reason.
Impact energy
Energy is estimated from the total moving mass and speed at the impact point. Mass includes vehicle, operator and load. The angle changes which speed component matters for the hit.
The calculation is not decoration; it helps separate a local protection point from a guardrail line or a solution requiring additional validation.
Working width
A barrier that absorbs impact needs room. If a machine, rack, wall or pedestrian route is immediately behind it, working width becomes part of the decision.
Sometimes the area cannot accept the preferred product without a layout change. Then the discussion moves to explicit compromises, not to the closest-looking model.
Floor and installation
Anchoring is part of system capacity. Thin, cracked or contaminated concrete, drilling restrictions or limited depth can change the resistance assumption completely.
Before a final quote, clarify floor type, slab thickness, joints, utilities and installation restrictions.
- vehicle: type, mass, wheels and working mode;
- load: weight, size, stability and frequency;
- impact: realistic speed, angle, direction and hit point;
- space: aisle, working width, access and bypasses;
- installation: floor, anchoring, maintenance and EHS restrictions.
Relevant directions for impact protection
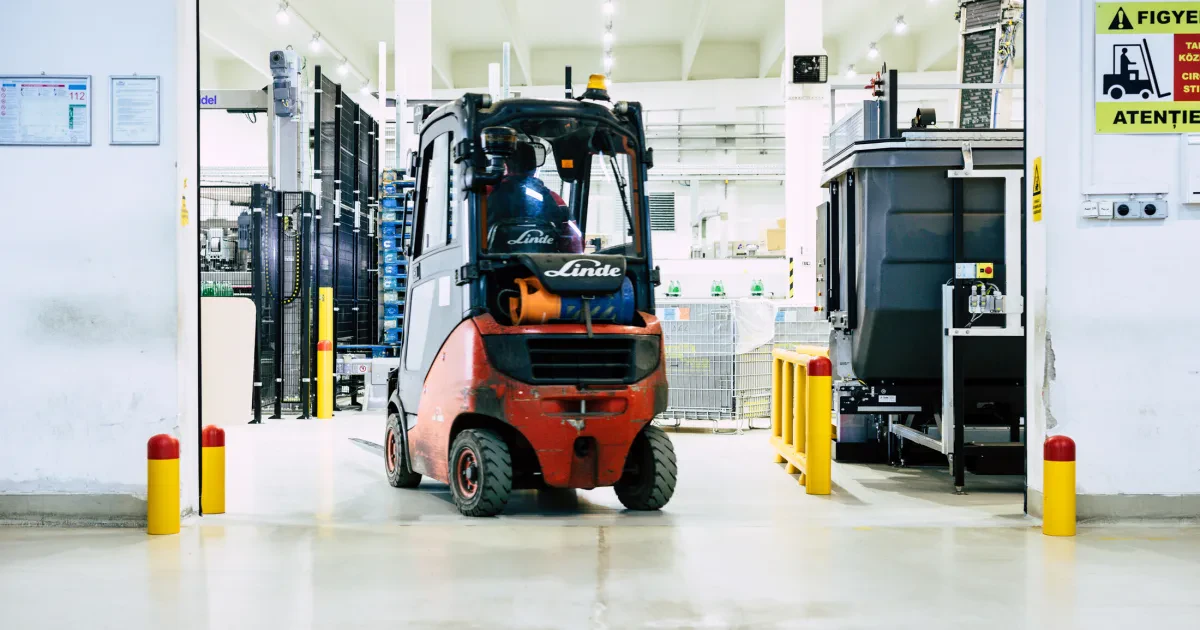
Impact protection systems
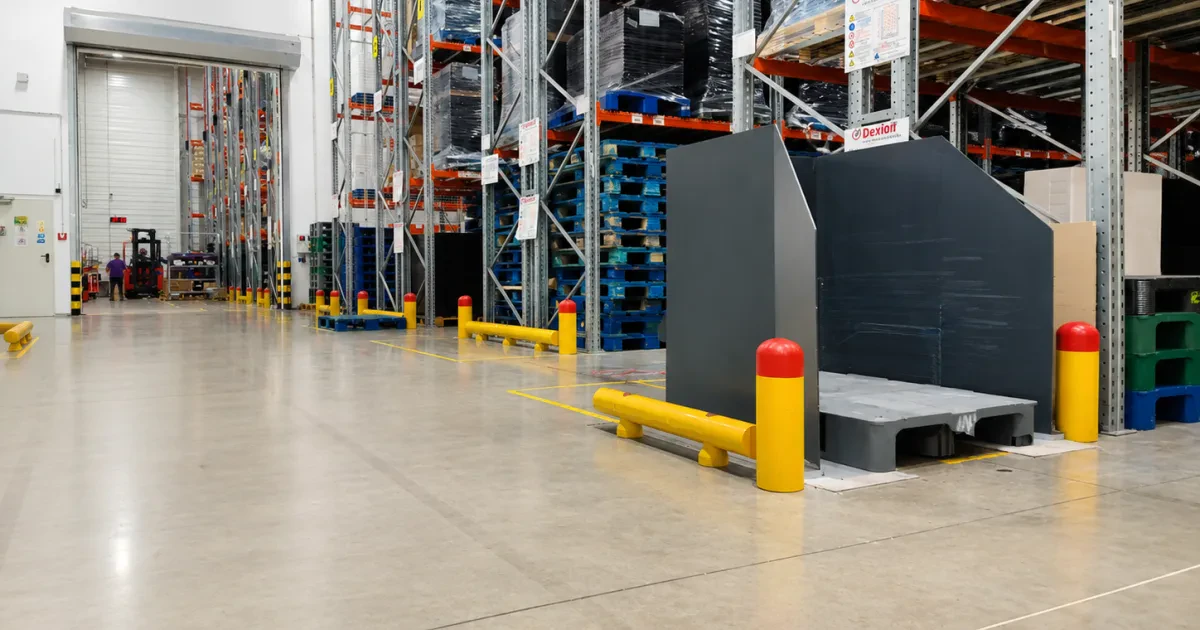
Rack and column protection
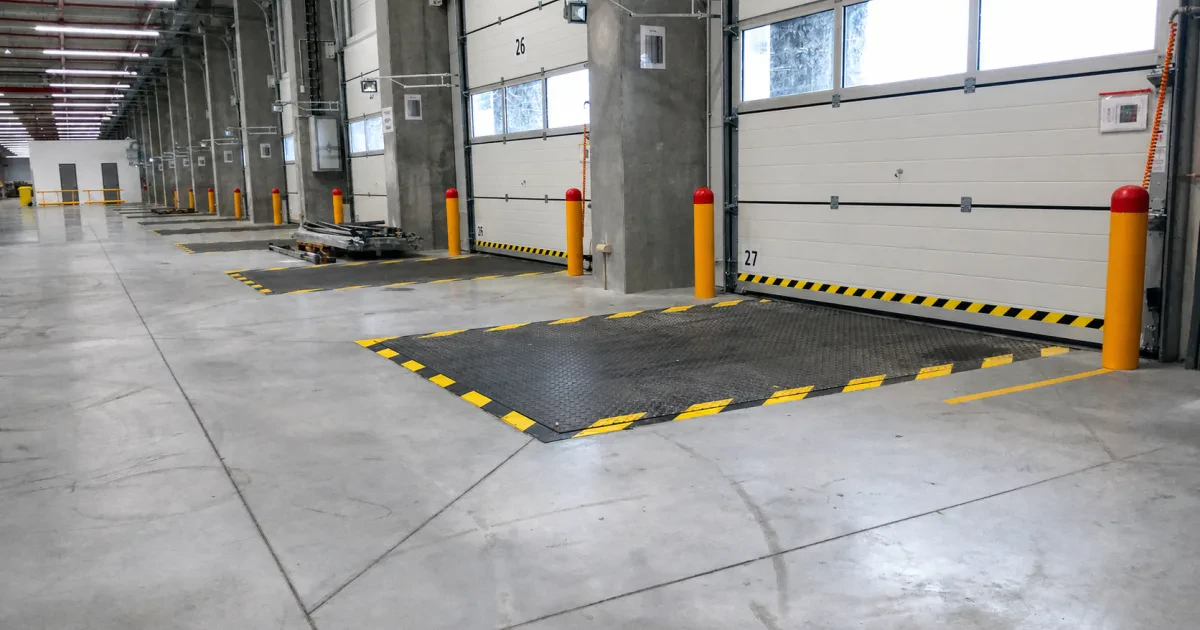
Loading bay protection

Do you have a zone where impacts should be controlled, not just covered?

Review the impact zone
Send the zone, vehicle, load, estimated speed, impact direction and what needs to be protected.
Useful questions before choosing protection
Reference points for factories, warehouses, food areas, automotive, packaging and internal logistics where protection should follow risk, not model names.
Before model selection, clarify the scenario: what asset or route needs protection, which vehicle can hit it and what happens when impact occurs. A high-speed door, rack end, column or pedestrian aisle does not call for the same protection logic.
Photos help, but the choice changes when movement data becomes clear. Useful first checks are:
- vehicle type: forklift, pallet truck, tugger, cart or other mobile equipment;
- total moving mass: vehicle, operator and load;
- realistic speed at the point, not only maximum vehicle speed;
- likely impact angle and approach direction;
- what sits behind the protection: rack, wall, machine, people, door or loading bay.
Impact energy rises quickly with speed. A small difference between slow manoeuvring, turning with load and moving through a traffic line can change the required protection level.
That is why site speed is more useful than a generic value. In bends, loading areas, blind spots or time-pressure zones, speed and impact angle should be read together.
- slow manoeuvre near a rack: different from a traffic line;
- turning with load: different direction and impact component;
- narrow area: deformation space may matter as much as resistance;
- busy flow: protection should preserve movement, not create bypasses.
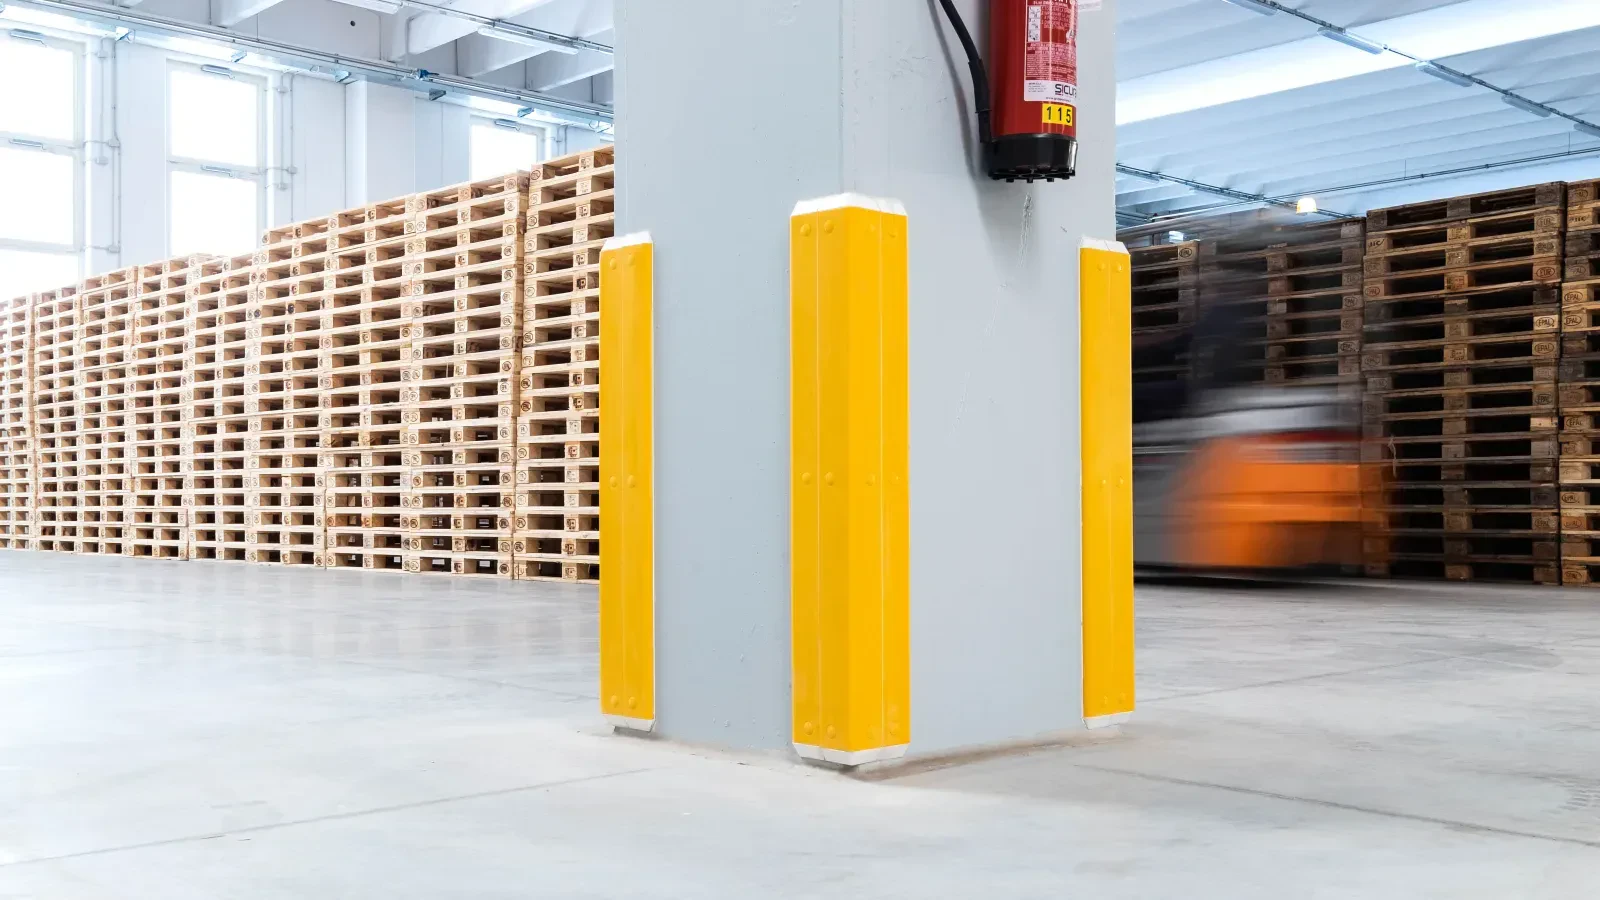
The choice starts from what needs to be controlled. If impact is localised at a corner or column, a bollard may be enough. If the exposed zone is a rack line, conveyor or route edge, continuous guardrail becomes relevant.
Where people and vehicles cross, protection is not only about the asset being hit. It must guide pedestrian movement, preserve controlled access and avoid bypasses after installation.
- bollard: column, corner, localised end, electrical panel;
- guardrail: exposed line, machine, conveyor, route edge;
- rack protection: aisle ends, uprights, turning areas near storage;
- pedestrian separation: walkways, crossings, doors, controlled access near traffic.
Most surprises come from floor, anchoring and space. A correctly selected barrier can underperform when concrete does not support anchors, joints sit too close to the fixing point or there is no room behind the barrier for deformation.
Before final budget, review the area as a whole: floor, utilities, distances, access for cleaning and maintenance, and how operators will use the route after installation.
- thin or cracked concrete near anchoring;
- drilling restrictions from floor heating, cables or channels;
- insufficient space between protection and protected asset;
- protection narrowing the aisle too much;
- installation blocking cleaning, access or evacuation.
Wheel marks, bent protection, repaired doors, touched rack ends or loose anchors show where impact already appears in daily use. These signals are valuable because they reduce guesswork.
History should not be used alone. It shows likely location and direction, then needs vehicle mass, load, speed and consequence. A rare hit in a critical point can justify more protection than frequent hits in a low-consequence area.
Budget becomes realistic when the zone is clear enough to separate minimum justified protection from a temporary or oversized option. This does not require a long study; a few good photos, a simple sketch and basic traffic data are often enough.
For a quick review, mark where the hit occurs, where the vehicle comes from and what must remain free after installation. If a short video of the real manoeuvre exists, speed, turning and available space become much easier to read.